The installation of the Speedkit is explained in a few steps.
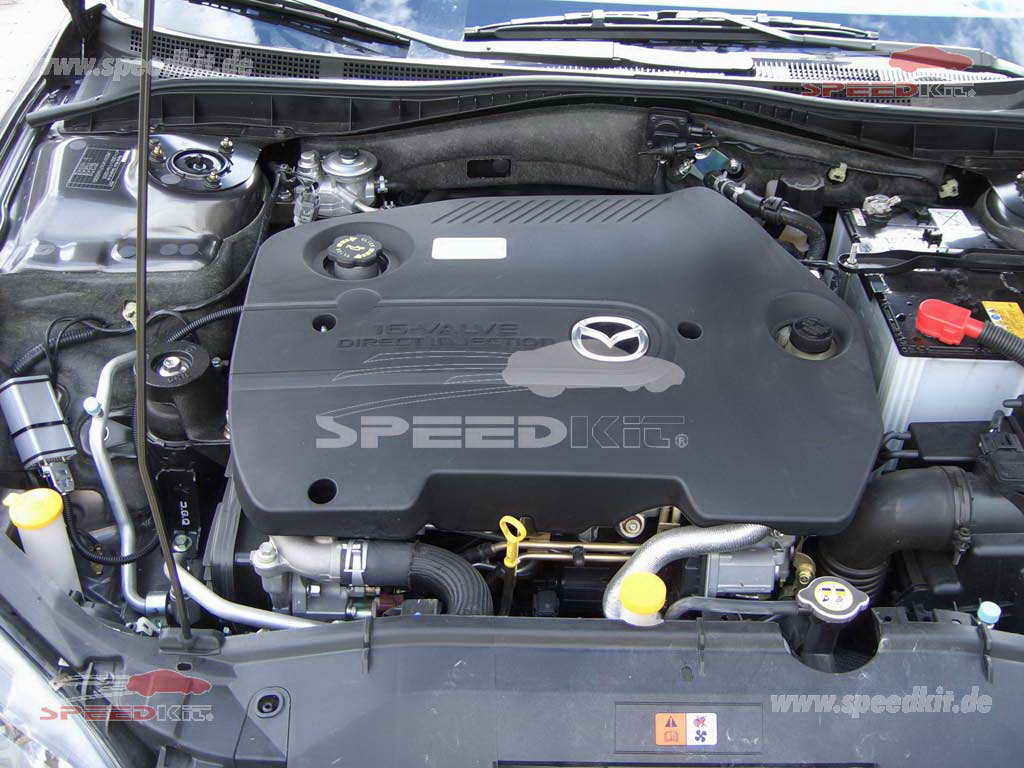
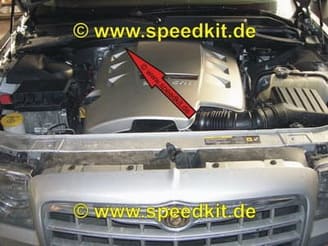
1) Remove the engine cover
First, check if the engine cover is fixed with screws.
On some vehicles, the engine cover simply pulled away with a powerful jerk up.
Some other vehicles you need tools to remove them.
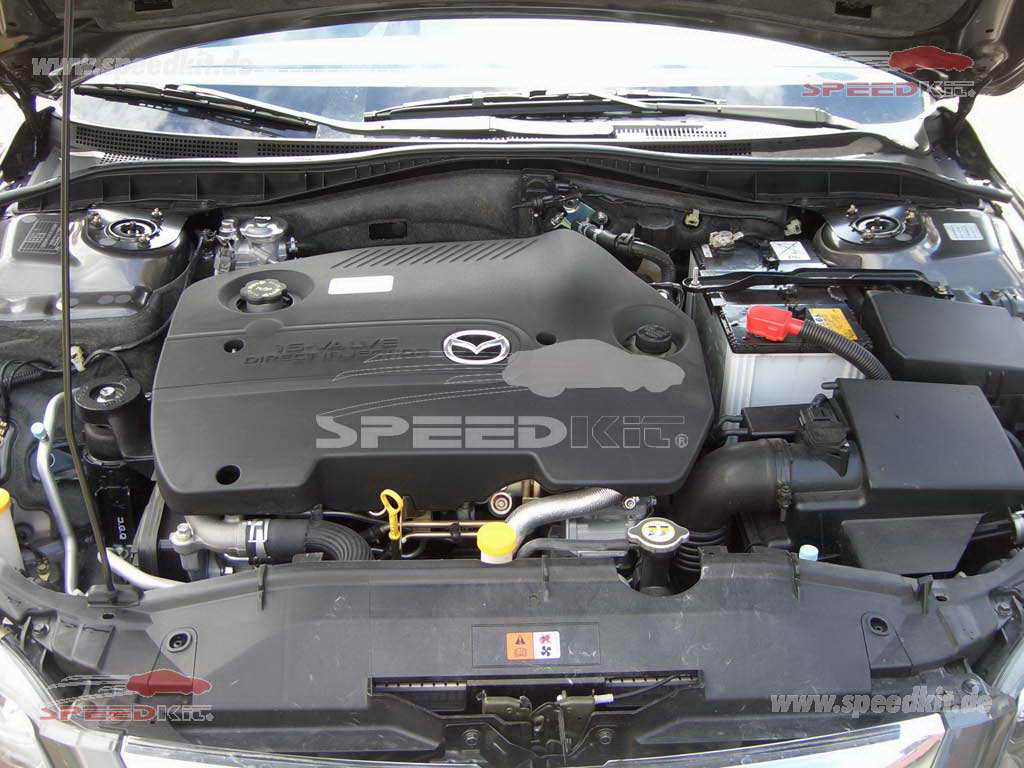
1) Remove the engine cover
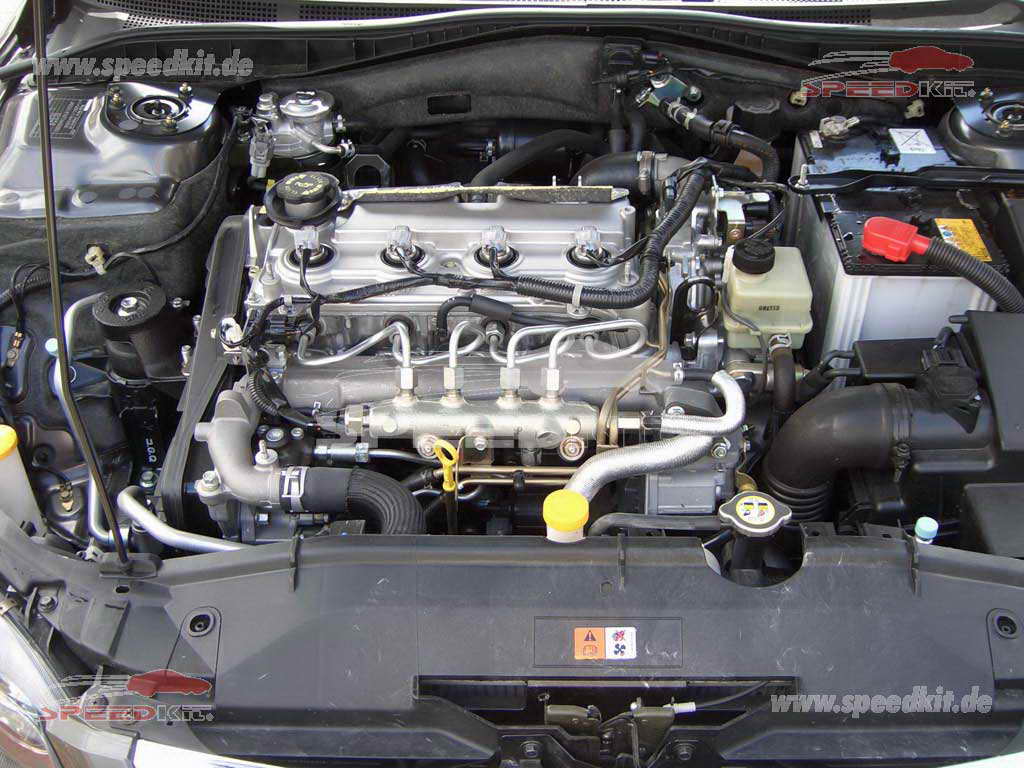
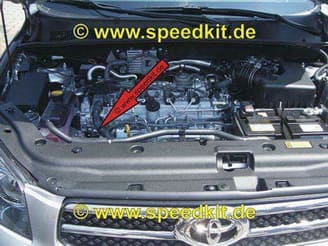
2) Search common rail pipe
2) Search common rail pipe
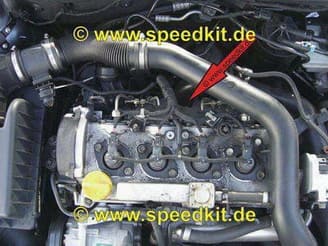
Look for the glow plugs on the cylinders.
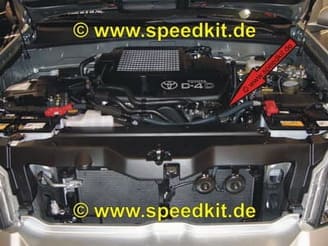
From there follow the thin tubes (about 6 mm in diameter), because they all end together in the common rail pipe.
These thin tubes are all the same length and therefore they meander next to each other to the common rail pipe.
3) The common rail pipe
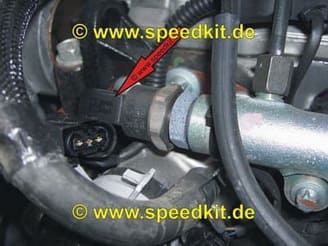
The common rail pipe is 99% longitudinal and parallel to the engine block.
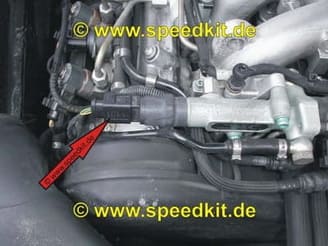
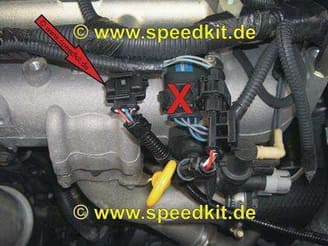
At each end (left or right) of the common rail pipe is then the common rail sensor.
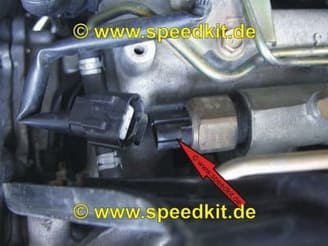
In some engine variants, the sensor is also attached to a nozzle in 90% to the common rail pipe.
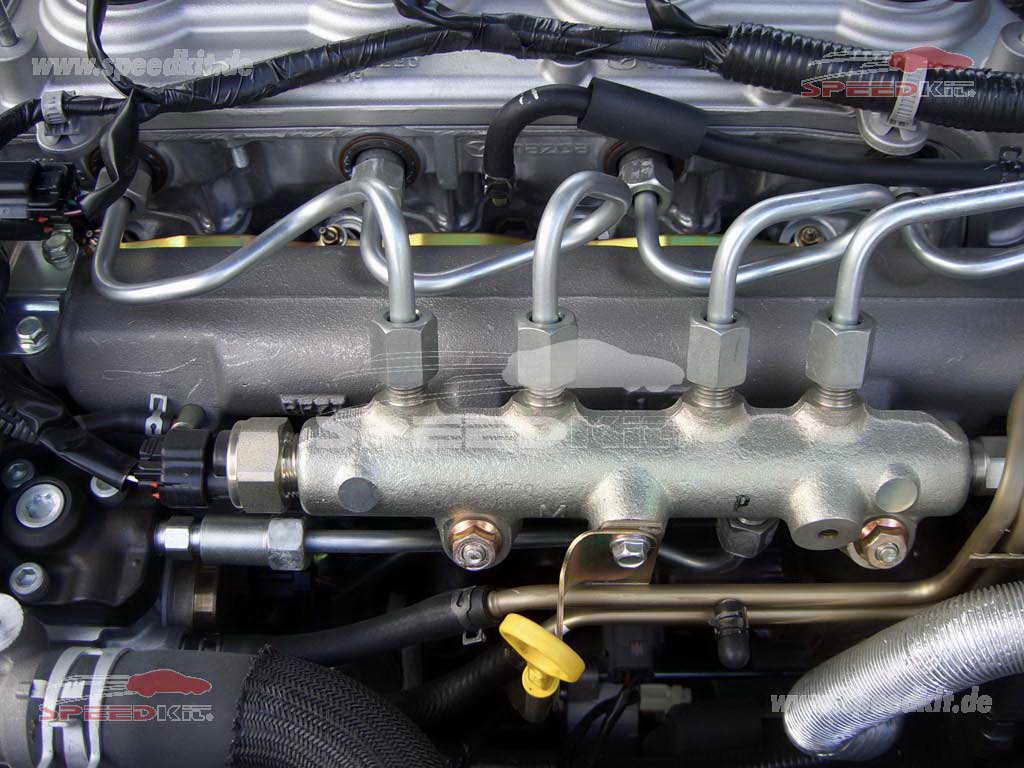
3) The common rail pipe
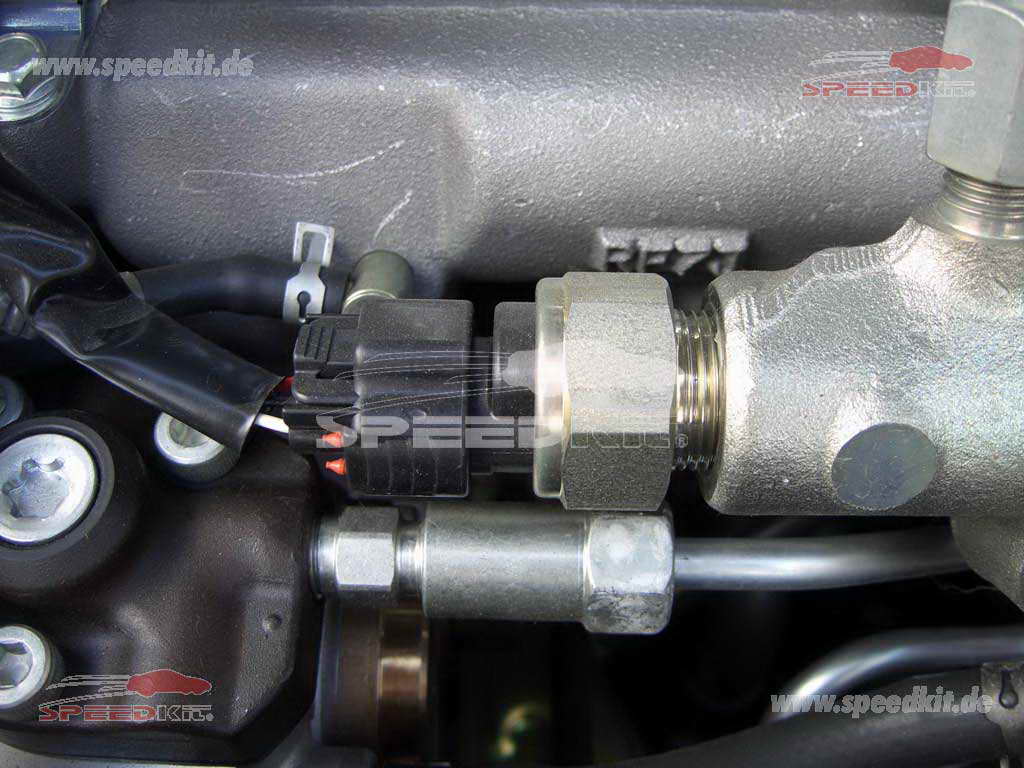
4) The common rail sensor
4) The common rail sensor
Info: The common rail sensor always has a 3- or 6-pin connector! Never a 2-pin!
The ignition must be off now!
Disconnect the connector from the common rail sensor by pressing the clip while removing the connector from the sensor.
5) Plug 3-pin
The supplied cable set is plugged into this open connector.
On some vehicles (Toyota), the plugs are sometimes also 6-pin.
Never 2-pin !!!
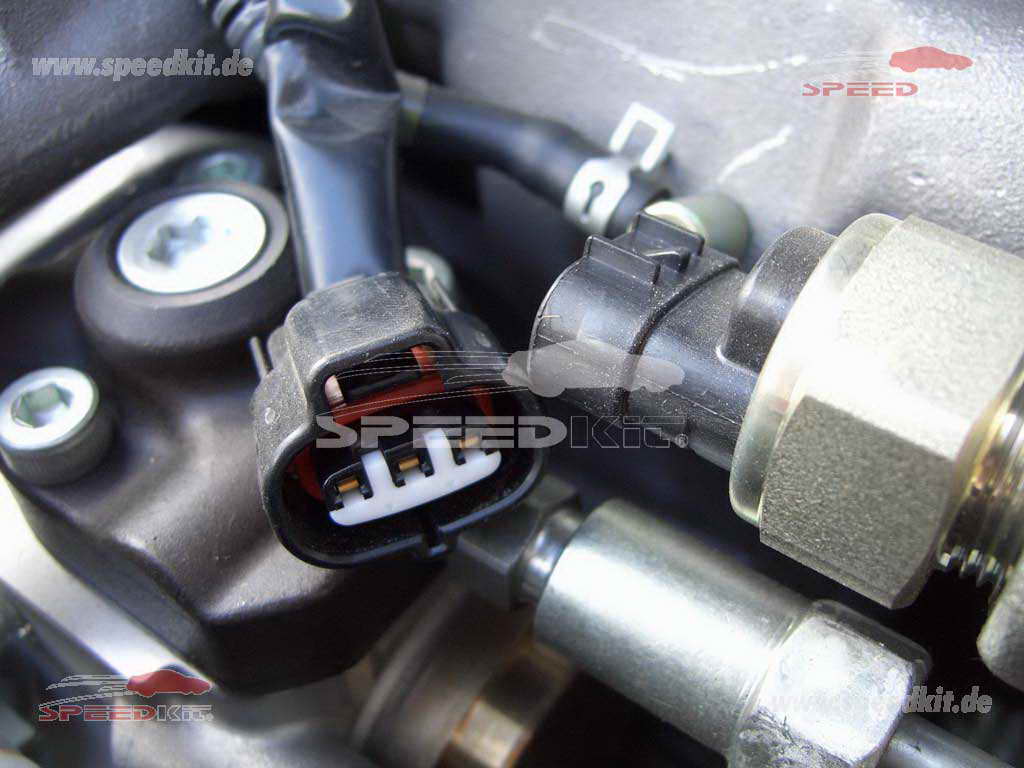
5) Plug 3-pin
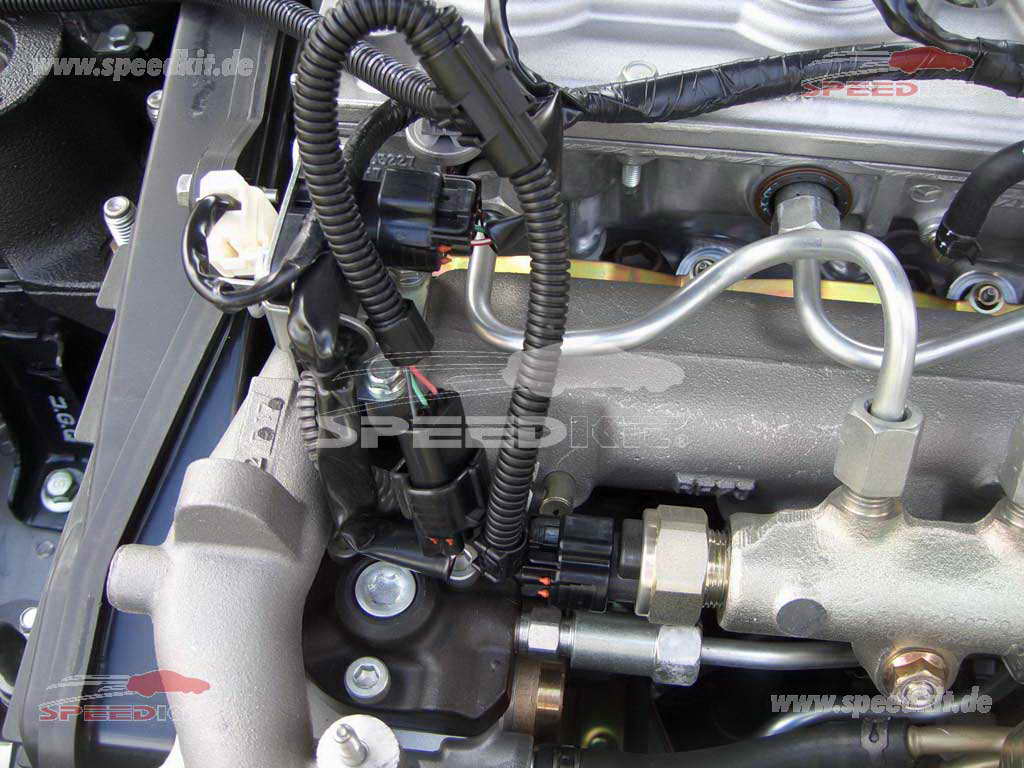
6) Installation harness
6) Installation harness
Pay close attention that the clips click and click audibly when plugged in.
7) Check installation of wiring harness
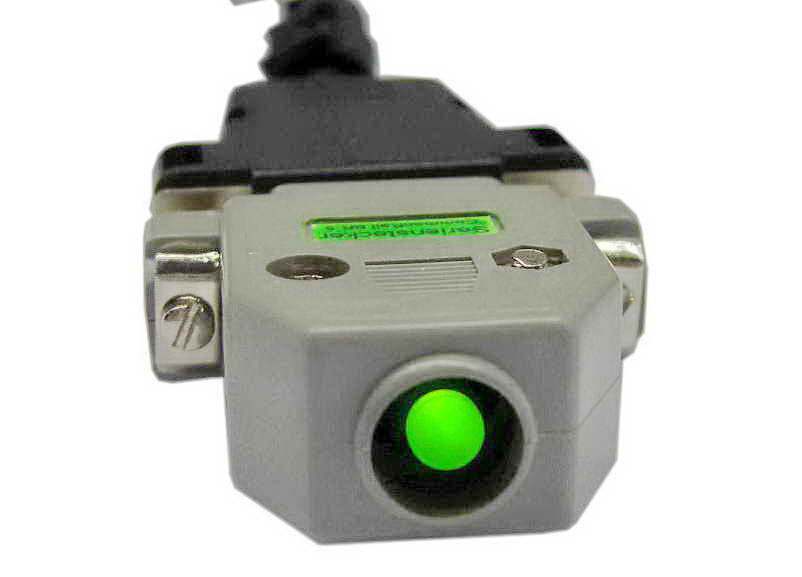
a) Turn on the ignition.
b) Now the green LED in the gray connector on the cable set must light up.
If this is not the case, then please check the installation of the cable set.


 ,
Nan’an ,
Rui’an ,
Belœil ,
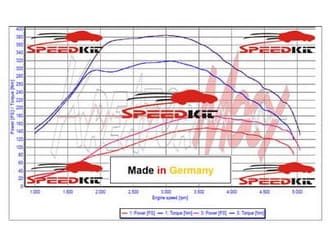
Białystok , Speedkit is Made in Germany